Introduction
Alright, folks, let's talk nails. Ever tried doing a gel manicure at home and found yourself waving your hands in the air like you just don't care while waiting for them to dry? Nightmare, right? Enter the 78W Plug in Nail Lamp. This snazzy UV LED Nail Lamp is here to solve your at-home manicure woes. It's designed for those who want salon results without leaving their cozy pajamas. Whether you're into gel nails, builder gels, or those fab press-ons, this gadget promises to get them dry, fast.
Pros & Cons
Here's the lowdown:
- Pros:
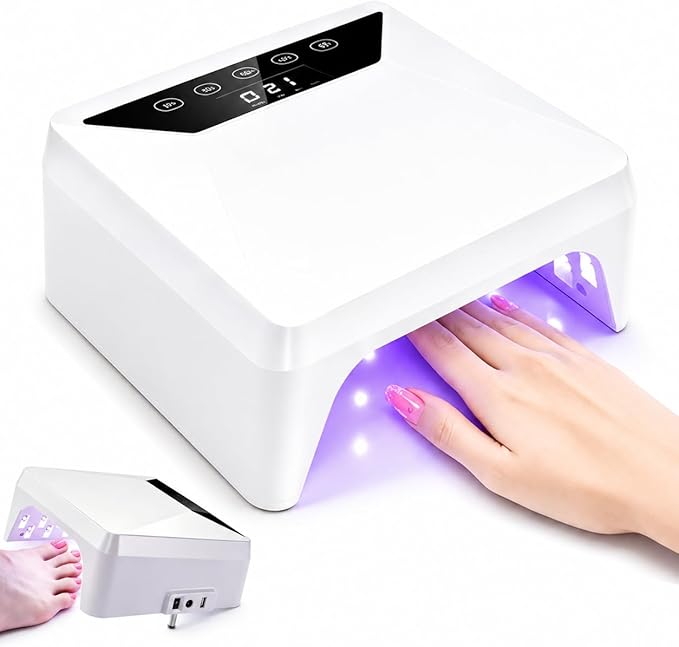
- The 78W power means it cures nails super quickly.
- Compact design with an adjustable stand—perfect for those hand and foot sessions.
- Good for both gel nails and press-ons, so it's versatile.
- Corded, so you never have to replace batteries or charge it up.
-
Comes with a timer for precise drying times.
-
Cons:
- It's a bit bulky if you're short on counter space.
- Not exactly portable due to its cord requirement.
- Some users might find the intensity settings a bit limited.
Comparison
Now, let's pit this beauty against a typical cordless nail lamp. Those battery-powered buddies are great for portability but often lack the oomph this 78W babe delivers. While many of them can take up to twice as long to cure gel nails, this product zaps through the process at lightspeed. So if speed and efficiency are your game, the 78W is your player.
User Tips / Usage Guide
Here's how to get the most out of your new nail buddy:
- Find the Right Spot: Set it up on a stable surface where you can comfortably rest your hand or foot.
- Check Your Settings: Understand the timer settings—different types of polish can require different curing times.
- Use in a Well-Ventilated Area: Even though it’s mostly odorless, it's good practice.
- Keep Hands and Feet Clean: Oil and dirt can mess with how your polish adheres, so prep properly.
- Experiment with Angles: Make use of the adjustable stand to get your nails directly under the light.
- Stick to One Hand/Foot at a Time: This ensures each nail gets the full LED experience.
- Regularly Clean the Lamp: Wipe it down to remove dust and polish residue.
- Use Protective Gloves: If you’re going in for a long session, protect your skin with some nail lamps gloves.
Conclusion
Look, here's the thing: if you're the kind who loves keeping their mani-pedi game strong without weekly trips to the salon, this lamp is a fantastic investment. It's best suited for enthusiastic DIY-ers or anyone wanting the freedom to redo their nails at their leisure. Even for the occasional nail artist who's in need of a plan B when they can't make it to their favorite salon, this could be a game-changer. Go on, give it a whirl!